
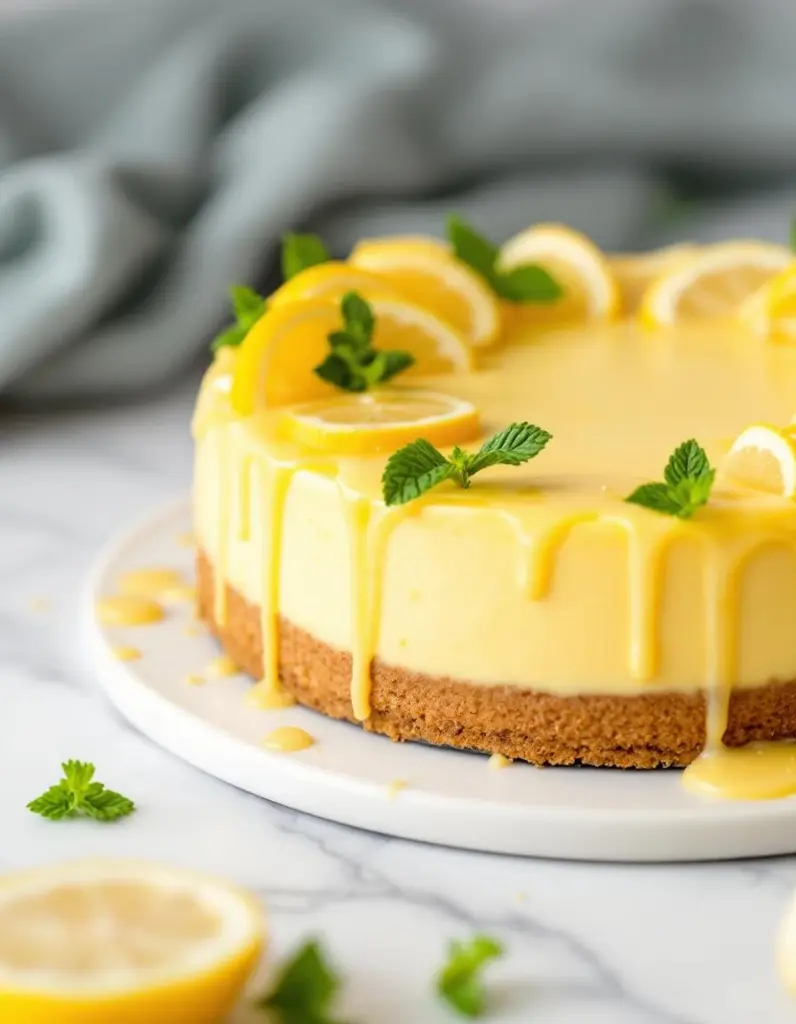
This cheesecake starts with a crumbs-and-butter crust that you press into the bottom of a pan, no baking involved. It’s messy but satisfying, especially when the crumbs stick to your fingers and form that solid base.
Then, you mix softened cream cheese with sugar and lemon juice, folding in whipped cream or sour cream. The filling gets poured over the crust, smoothing it out with a spatula, ready to set in the fridge.
The satisfying scrape of the graham cracker crust as you press it into the pan, feeling the crumbs give way beneath your fingertips, creating that perfect, even base for the creamy filling.
What goes into this dish
- Graham cracker crumbs: I crush my own for the best texture, but store-bought works fine. Skip if you’re out—substitute with digestive biscuits for a slightly richer flavor, or almond flour for a nutty twist.
- Butter: I melt it down, the smell of toasted dairy filling the kitchen. Swap with coconut oil if you want a hint of tropical aroma, but skip if you prefer a richer crust.
- Cream cheese: I soften it until silky, the tang sharp and inviting. Use Greek yogurt for a tangier, lower-fat option, or mascarpone for extra creaminess—just watch the consistency.
- Sugar: I use regular granulated, but honey or maple syrup can add a subtle floral note—just reduce the liquid slightly to compensate.
- Lemon juice: Brightens everything with a citrus punch, the scent alone wakes up the palate. Lime juice works for a more tart kick, or skip for a creamier, less tangy cheesecake.
- Whipped cream: I fold it in gently, the soft peaks melting into the filling. For a dairy-free version, try coconut whipped cream—just chill it well before folding in.
- Vanilla extract: Adds warmth and depth, the aroma inviting as it hits the batter. Almond extract can substitute for a nuttier, more fragrant note—use sparingly.
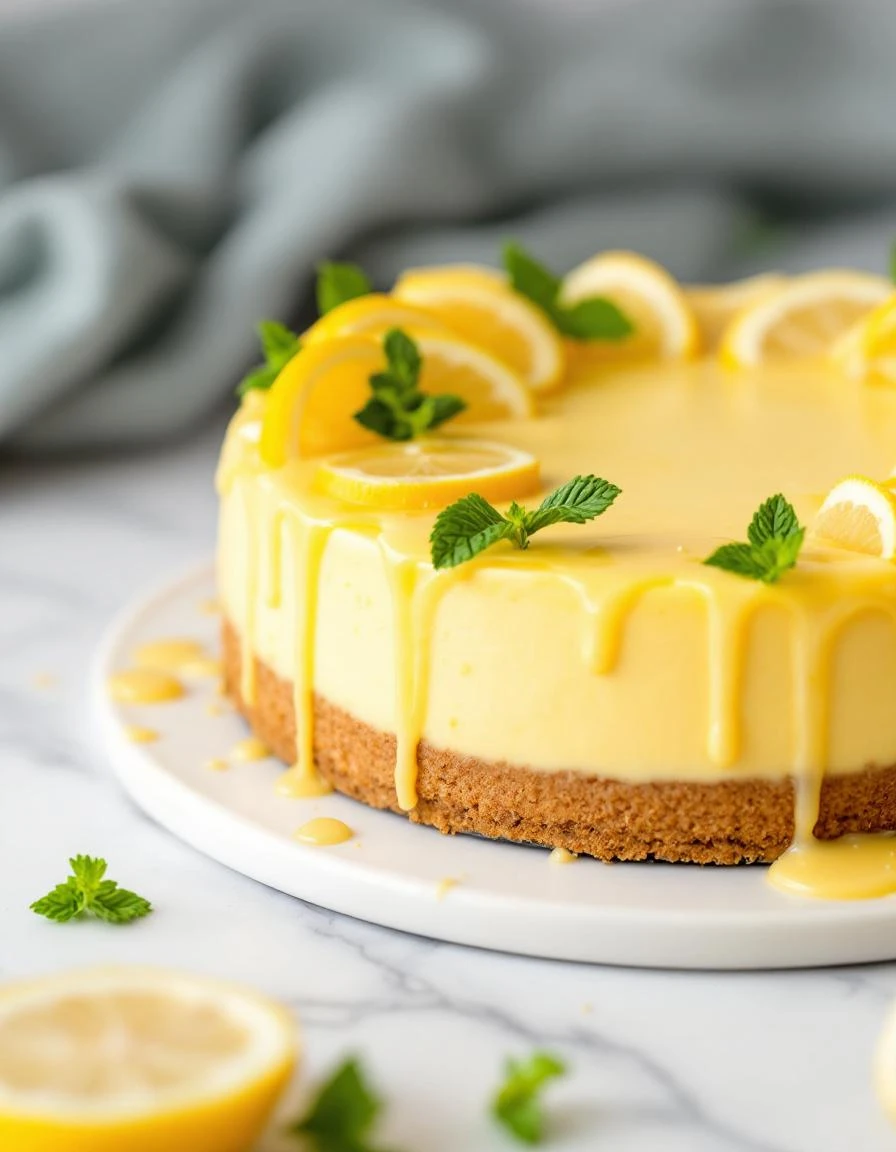
No-Bake Lemon Cheesecake
Ingredients
Equipment
Method
- Combine the graham cracker crumbs and melted butter in a bowl, stirring until the crumbs are evenly coated and resemble wet sand. Press this mixture firmly into the bottom of a 9-inch springform pan, creating an even, compact crust. Chill in the refrigerator for about 10 minutes to firm up.
- In a large mixing bowl, beat the softened cream cheese with an electric mixer until smooth and creamy, about 2-3 minutes. Add the sugar and continue beating until fully incorporated and the mixture is fluffy.
- Pour in the lemon juice and vanilla extract, mixing briefly just to combine. The lemon adds a bright, tangy flavor that pairs perfectly with the creamy filling.
- Gently fold in the whipped cream or sour cream with a spatula until the mixture is smooth and uniform, being careful not to deflate the whipped component. This creates a light, airy texture.
- Pour the creamy filling over the chilled crust, spreading it out evenly with a spatula. Smooth the top so it looks level and inviting.
- Cover the pan with plastic wrap or a lid and refrigerate for at least 4 hours, or preferably overnight. This allows the cheesecake to set firmly and develop full flavor.
- Once set, remove the cheesecake from the fridge, slice with a sharp knife, and serve chilled. The final dessert should be smooth, creamy, and bright with lemon, perfect for a refreshing treat.
Common mistakes and how to fix them
- FORGOT to chill the cheesecake before serving? Chill for at least 4 hours, or overnight for best set.
- DUMPED the crust mixture directly into the pan? Press firmly, and evenly for a solid base.
- OVER-TORCHED the crust in the oven? Toast until just golden, then cool completely before adding filling.
- MISSED mixing the filling smooth? Whisk until creamy and no lumps remain, then pour carefully.
Make-Ahead and Storage Tips
- Prepare the crust and press it into the pan a day ahead. Keep covered in the fridge overnight.
- The cheesecake filling can be made 24 hours in advance. Cover tightly and store in the fridge to prevent it from absorbing other fridge smells.
- Once set, the cheesecake can stay in the fridge for up to 3 days. Flavour remains fresh, but texture might soften slightly.
- For best texture, serve straight from the fridge. Reheat very gently if you prefer slightly warmer, but it’s usually better cold.
- If the cheesecake develops a slight watery layer on top, gently pat it dry with a paper towel before serving.
- Freezing is possible for up to a month. Wrap tightly in plastic and foil. Thaw slowly in the fridge before serving.
FAQs
1. Can I use a different cheese?
Yes, cream cheese is key. It should be softened, so it blends smoothly without lumps, giving that creamy, velvety texture you want.
2. Can I swap sour cream with yogurt?
Absolutely, sour cream adds tang and smoothness. Use full-fat for the best richness, or Greek yogurt for a lighter feel.
3. How long should I chill it?
Yes, refrigerate for at least 4 hours, ideally overnight. The texture firms up, and the flavors meld, making that first slice satisfying.
4. Should I serve it warm or cold?
Serve it cold, straight from the fridge. The filling will be firm and smooth, with a cool, creamy bite that feels just right.
5. Can I freeze leftovers?
Yes, you can freeze it up to a month. Wrap tightly, thaw in the fridge, then give it a gentle stir if needed before serving.

Hi, I’m Clara Sage – and welcome to my kitchen of small revelations.
I created The Language of Aha not just as a recipe blog—but as a space to celebrate the little lightbulb moments that happen in the kitchen.