
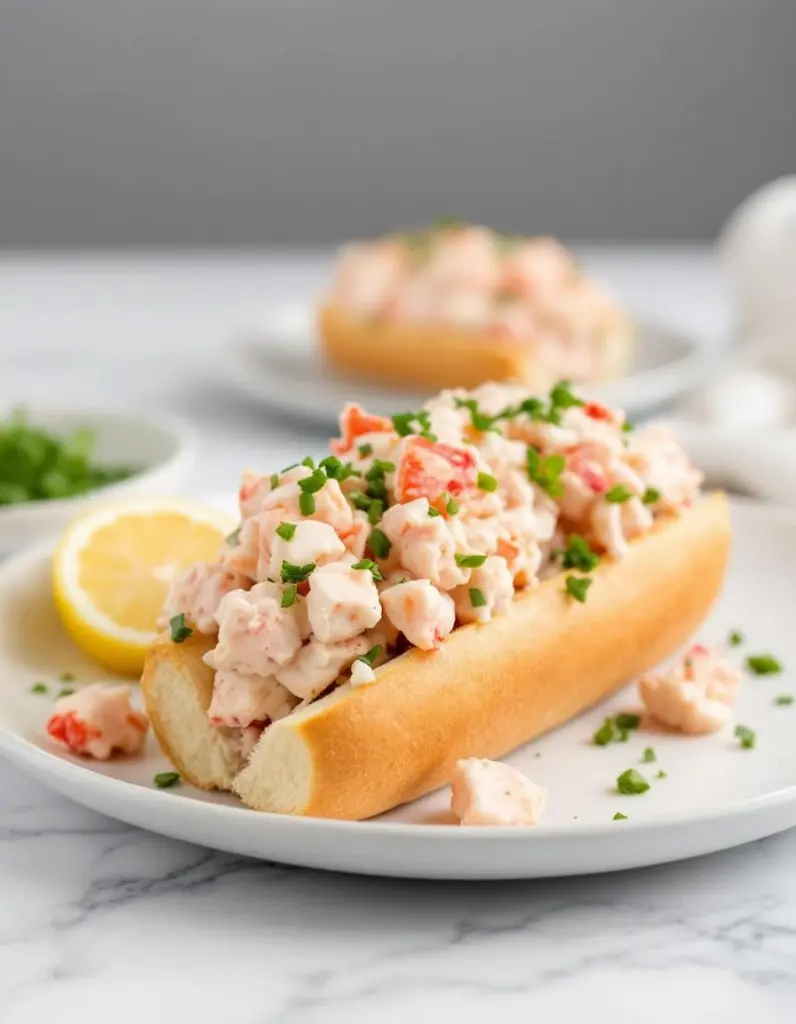
Making a lobster roll is all about the tactile feel—the tender lobster meat, the soft bun, and the messy, sticky process of filling each roll. You’ll want to get your hands dirty, scooping and piling, hearing that faint squish as the meat presses against the bread.
Eating one involves that satisfying crunch of the toasted bun and the juicy, oozing lobster that spills out with each bite. It’s a hands-on, almost primal experience that makes the effort of prep feel worth it from the first bite onward.
the satisfying scrape of the lobster meat against the bun as I fill it, hearing that faint, sticky squish with each spoonful—it’s a messy, tactile process that makes the first bite all the more rewarding.
Key Ingredients and Substitutions
- Lobster meat: I prefer tail and claw meat for that firm, slightly sweet bite—squeeze out the juice, then chop coarse; skip if you’re feeling thriftier, but it won’t be the same juicy, tender texture.
- Brioche buns: Toasted until golden, they add a buttery crunch that contrasts with the lobster’s softness—if unavailable, sturdy hot dog buns work, but they won’t hold the filling’s mess.
- Mayonnaise: Use a good, full-fat mayo for richness—skip the low-fat stuff, it’ll taste flat and watered down when mixed with lobster’s brine.
- Lemon juice: Brightens everything with a citrus zing—skip if you dislike acid, but the contrast cuts through the richness beautifully.
- Herbs (chives or parsley): Finely chopped to add fresh, grassy notes—if you don’t have herbs, a pinch of dill or tarragon can stand in, but skip the bright-green pop.
- Butter: Lightly butter the toasted buns for extra flavor and crispness—olive oil can work in a pinch, but the butter adds that classic richness and aroma.
- Salt & pepper: Season generously—skip the salt at first, then taste and adjust; lobster can be salty, so go easy, but don’t forget to enhance the natural sweetness.
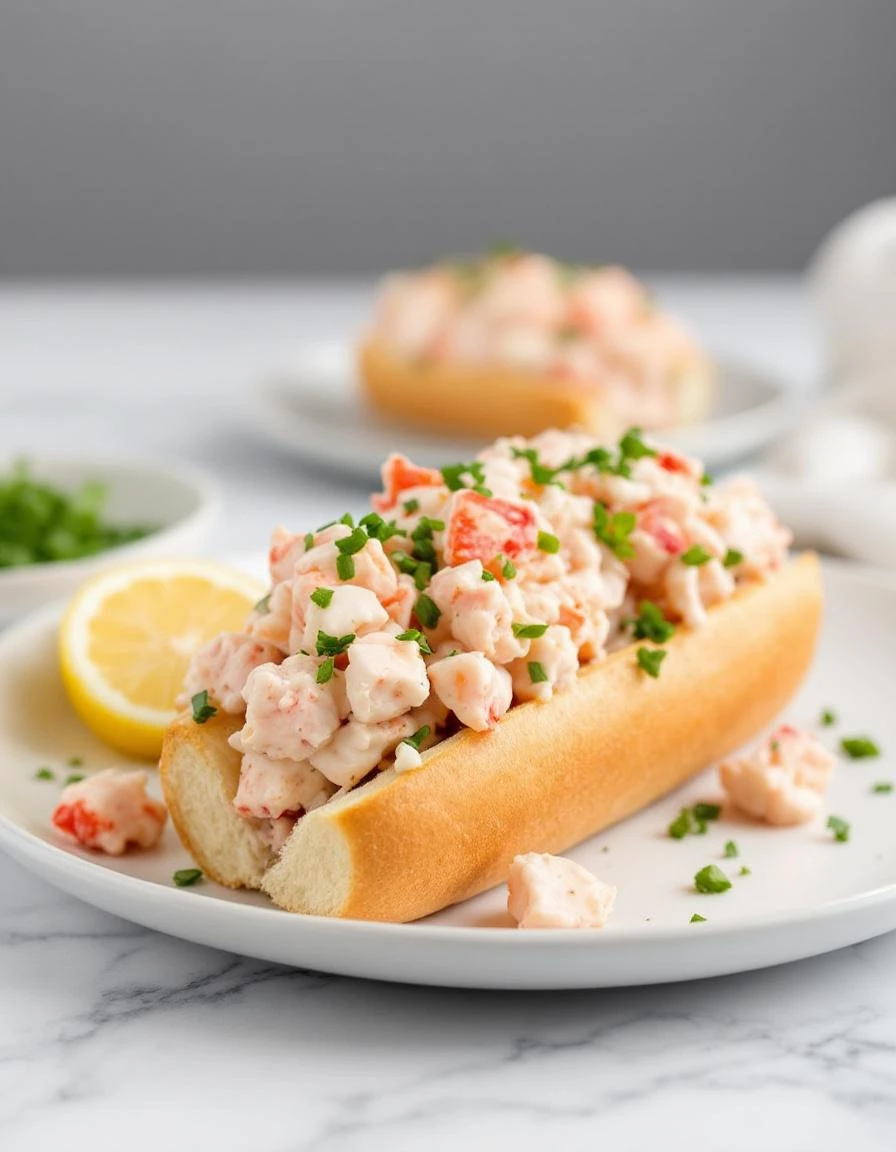
Lobster Roll
Ingredients
Equipment
Method
- Chop the cooked lobster meat into coarse pieces, squeezing out excess juice to keep the filling from becoming soggy.
- In a mixing bowl, combine the chopped lobster with mayonnaise, lemon juice, chopped herbs, and a pinch of salt and pepper. Mix gently until well coated, being careful not to break the lobster apart too much.
- Slice the brioche buns in half and toast them until golden and slightly crispy, either in a toaster or skillet with a little butter for extra flavor.
- Spread a thin layer of butter on the toasted buns and place them back on the skillet for about 30 seconds to enhance the buttery crunch.
- Using a spoon or fork, generously scoop the lobster mixture into each toasted bun, pressing gently to fill the bun completely and create a messy, overflowing look.
- Serve the lobster rolls immediately while the buns are warm and crispy, with the juicy lobster oozing out with each messy bite—enjoy the tactile crunch and tender filling.
Common Mistakes and Fixes
- FORGOT to chill the lobster; heat causes rubbery texture—keep it cold for tender bites.
- DUMPED too much mayo; a light hand keeps the lobster tasting fresh, not drowning.
- OVER-TORCHED the buns; toast just until golden—burnt bread ruins the texture and flavor.
- MISSED seasoning at start; taste and adjust salt and lemon before assembling—balance is key.
Make-Ahead and Storage Tips
- Prep the lobster meat and chop it ahead; keep it chilled in the fridge for up to 24 hours to maintain freshness.
- Toast the buns and store in an airtight container; reheat briefly in a hot oven to regain crispness before serving.
- Mix the lobster filling with mayo, lemon, and herbs a few hours before; flavors meld better, but don’t add lemon until just before serving to keep it bright.
- Lobster meat can be frozen for up to a month, but it’s best used fresh for texture and flavor.
- Reheat the lobster mixture gently in a skillet or microwave, checking for a warm, juicy bite—avoid overcooking to keep it tender.
FAQs
1. How fresh does the lobster need to be?
Use fresh, live lobster if you can find it; the texture is firmer, and the flavor brighter, like ocean breeze on your tongue. Frozen lobster works in a pinch but can be softer and less juicy.
2. Should I chill the lobster before cooking?
Chilling the lobster before cooking keeps the meat tender and easy to handle—feel that coolness, it makes a difference in texture. Cooked lobster should smell clean, not fishy, with a slight brine scent.
3. How should the buns be toasted?
Toast the buns until they’re golden and slightly crispy outside—your teeth will notice the crunch, contrasting the soft, juicy lobster. If they’re too soft or stale, the roll falls apart and loses that satisfying bite.
4. How much mayo should I add?
Mix the lobster with a generous spoonful of mayo, lemon juice, and chopped herbs just before serving. Over-mixing can make the filling mushy, and too much mayo drowns the lobster’s natural sweetness.
5. Can I make it ahead?
Serve the lobster roll immediately for the best crunch and juiciness. If needed, reheat the toasted buns briefly in a hot oven, and gently warm the lobster mixture—avoid overcooking to keep that tender, oozing bite.

Hi, I’m Clara Sage – and welcome to my kitchen of small revelations.
I created The Language of Aha not just as a recipe blog—but as a space to celebrate the little lightbulb moments that happen in the kitchen.