
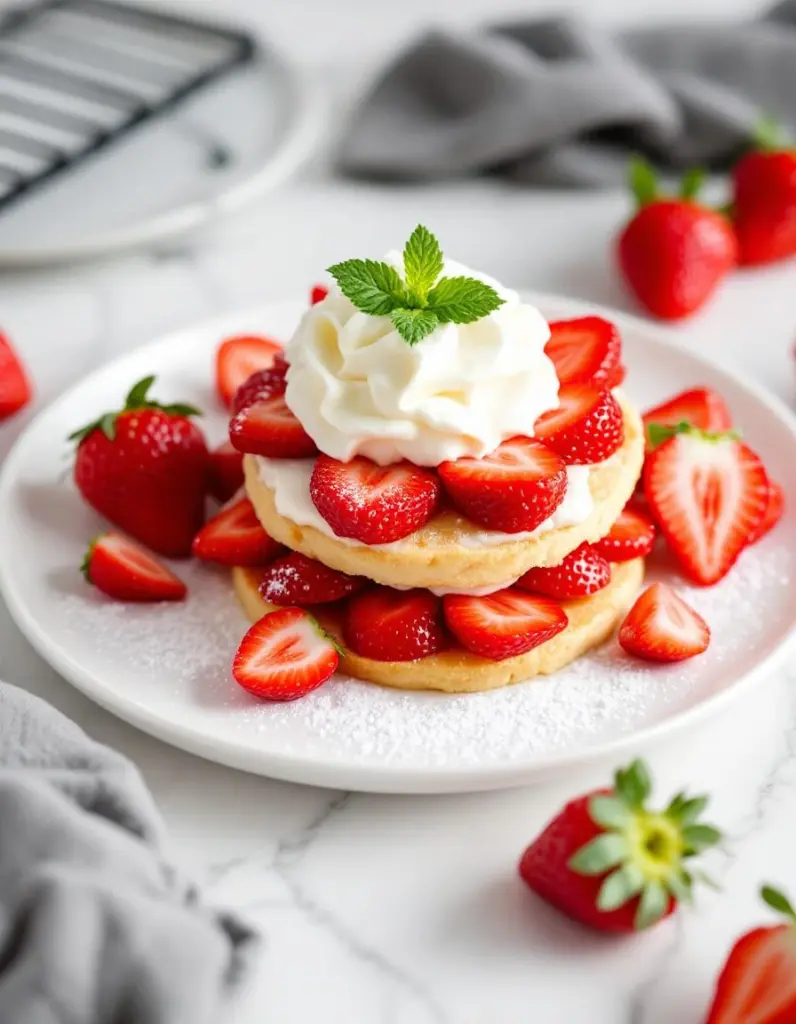
Making a strawberry shortcake means dealing with the mess of slicing berries and sprinkling sugar over them, watching them ooze out juice and stain the plate. It’s about the sticky, sweet, slightly tart smear on your fingers as you mash the strawberries. No neatness required, just honest, tactile prep.
The biscuit or sponge layer needs to be baked until golden and still warm, so it crumbles easily under a fork. As you assemble, the cream should be thick but soft, ready to sink into the cake and strawberries with a gentle press.
The gentle squish of ripe strawberries as you mash them, releasing their sweet, oozing juices that soak into the sponge and drip down your fingers.
What goes into this dish
- Strawberries: I choose ripe, fragrant berries that give slightly when pressed; their oozy, sweet-tart juice is the backbone. Swap in blueberries or peaches if strawberries aren’t in season, but expect a different burst of flavor.
- Sugar: I sprinkle enough to draw out that juicy sweetness, just enough to make the berries glisten. Use honey or agave syrup for a floral note or skip if your berries are super ripe and sweet.
- Cream: Heavy cream whipped until soft peaks form—rich, slightly tangy, melts on your tongue. Sour cream or mascarpone can stand in if you want a tangy twist or skip for dairy-free needs.
- Biscuits: Fluffy, buttery, with a crumbly crunch on the edges. If you don’t have buttermilk, swap in milk with a splash of vinegar or lemon juice, but don’t overmix—tenderness is key.
- Lemon zest (optional): Adds a bright lift, cutting through the sweetness. Skip if you prefer a more subdued flavor, but I love that zing to balance the berries.
- Vanilla extract: A splash for depth, bringing out the berry’s aroma. Almond extract can be a surprising substitute if you want a nuttier touch, but use sparingly.
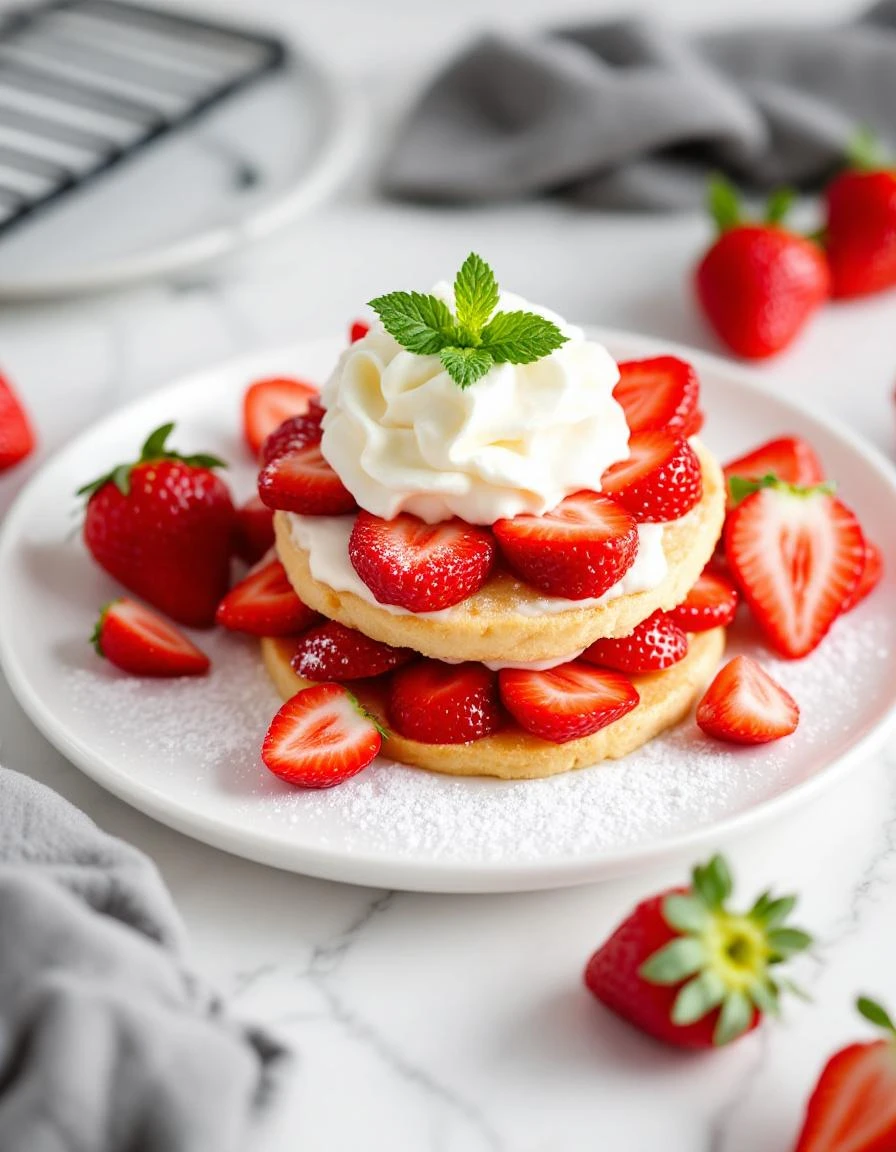
Strawberry Shortcake
Ingredients
Equipment
Method
- Hull and slice the strawberries into a bowl, then sprinkle with sugar and gently mash with a fork or muddler until juicy and slightly broken down. Let sit for 10-15 minutes to macerate and release their juices.
- In a chilled mixing bowl, whip the heavy cream with sugar until soft peaks form. The cream should be silky and hold gentle folds when lifted. Keep refrigerated until ready to assemble.
- Preheat your oven to 425°F (220°C). In a large bowl, whisk together flour, baking powder, and salt. Add the cold, cubed butter and cut it into the dry ingredients with a pastry cutter or fork until the mixture resembles coarse crumbs with some pea-sized bits.
- Pour in the buttermilk and vanilla extract, then gently fold the mixture with a spatula or spoon just until combined. Do not overmix to keep the biscuits tender.
- Turn the dough out onto a lightly floured surface and gently knead it a few times to bring it together. Pat the dough into a 1-inch thick rectangle and cut out rounds with a biscuit cutter or glass.
- Place the biscuits onto a baking sheet lined with parchment paper. Bake in the preheated oven for 12-15 minutes, or until golden brown and slightly crisp at the edges.
- Remove the biscuits from the oven and let them cool slightly on a wire rack. They should be warm and crumbly, perfect for layering.
- Once cooled, slice the biscuits horizontally if desired, or serve whole. Spoon a generous amount of mashed strawberries onto the biscuit base, then top with a dollop of whipped cream and the biscuit top if sliced.
- Finish by spooning more strawberries and whipped cream over the top for a luscious, juice-soaked finish. Serve immediately to enjoy the contrast of warm, flaky biscuit and cool, creamy topping.
Common Mistakes and How to Fix Them
- FORGOT to adjust sugar levels, leading to overly sweet berries. Tweak sweetness to taste.
- DUMPED cold cream directly into the bowl. Warm slightly for better whipping consistency.
- OVER-TORCHED the shortcake in the oven. Check early—golden edges are your cue, not darkness.
- MISSED folding the flour gently. Overmixing makes the cake dense, so stir just until combined.
Make-Ahead and Storage Tips
- Prep the strawberries: hull and slice them a few hours ahead. Keep in the fridge to prevent spoilage and maintain freshness.
- Bake the shortcake a day before. Once cooled, store in an airtight container at room temperature or lightly wrapped for up to 24 hours.
- Whip the cream just before serving. Keep it covered in the fridge for a few hours, but don’t whip too far in advance or it may lose its fluff.
- Assemble just before serving for the best crunch and freshness. If needed, refrigerate assembled shortcake but consume within 2 hours.
- Freezing shortcake layers is possible for up to a month, but expect some texture change. Thaw in the fridge before serving.
- Reheat the shortcake slightly in a low oven (around 300°F) for 5-7 minutes if you want it warm, but be careful not to dry it out; check for a gentle warmth and a slight crunch revival.
FAQs
1. How do I select the best strawberries?
Use ripe, fragrant strawberries that give slightly when pressed. Their juicy, sweet-tart flavor is key. If out of season, try blueberries or peaches for a different burst of flavor.
2. What’s the ideal way to whip the cream?
Whip the cream until soft peaks form—rich, slightly tangy, with a silky texture that melts in your mouth. For a tangy twist, try sour cream or mascarpone, or skip dairy for a lighter version.
3. How can I prevent overbaking the shortcake?
Shortcake layers should be baked until golden and still warm, with a slight crumble. If overbaked, they’ll be dry. Check early—edges turn golden, not dark or burnt.
4. Can I prepare it ahead of time?
Assemble the shortcake just before serving to keep the layers crisp and fresh. Refrigerate assembled portions if needed, but consume within 2 hours for the best crunch.
5. How far in advance can I prepare the strawberries?
If strawberries sit too long with sugar, they become mushy. Prepare and hull slices a few hours ahead, keeping them chilled for the freshest, juiciest flavor.

Hi, I’m Clara Sage – and welcome to my kitchen of small revelations.
I created The Language of Aha not just as a recipe blog—but as a space to celebrate the little lightbulb moments that happen in the kitchen.