
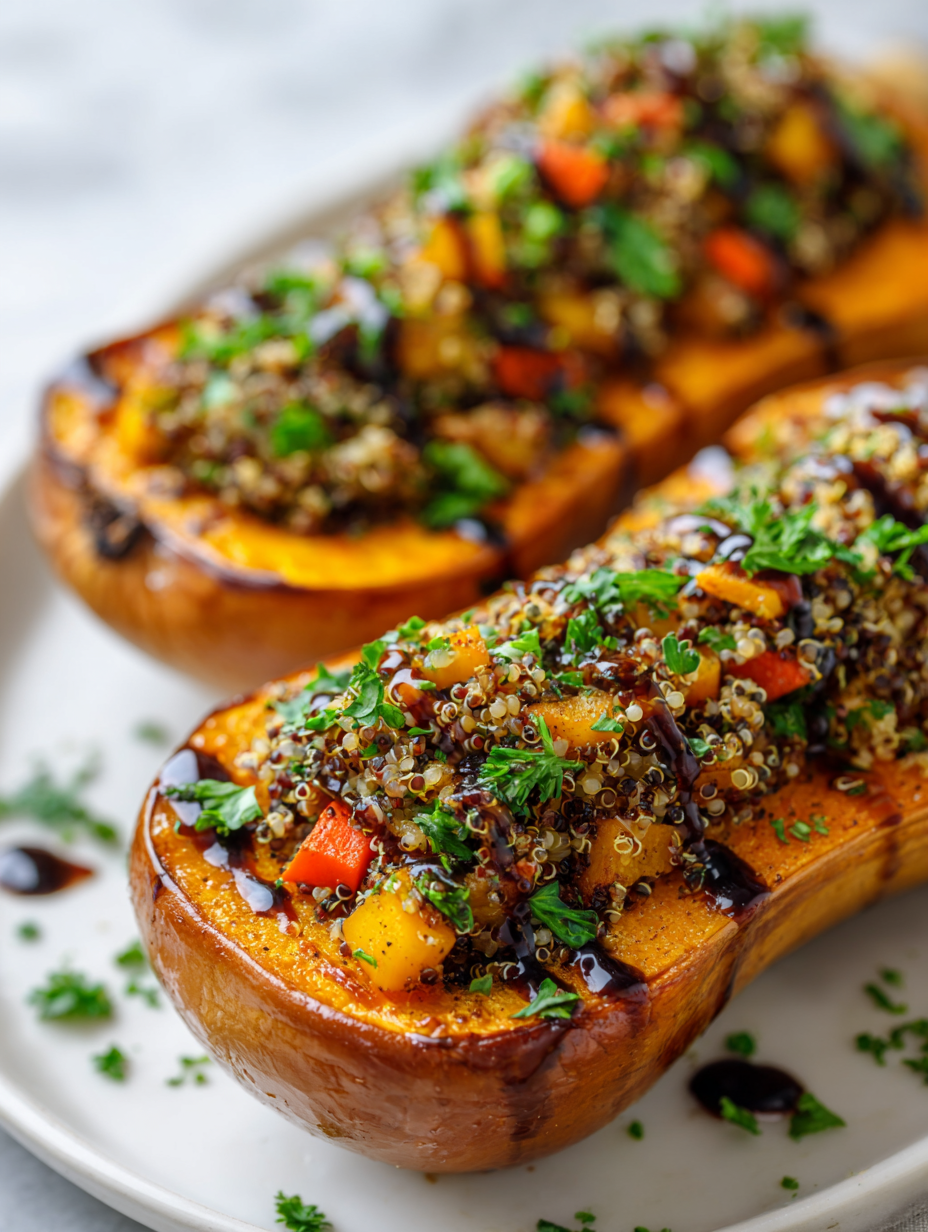
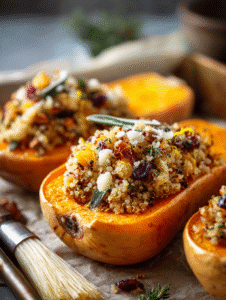
Every Christmas, I look for a dish that feels festive but isn’t fussy. Roasted stuffed squash hits that sweet spot—warm, hearty, with a hint of sweetness from the caramelization. It’s a vegetable-centered dish that feels just fancy enough for the season.
I love how adaptable it is, perfect for vegans or anyone avoiding heavy meats. Plus, it’s a visual showstopper—bright orange, bursting with herbs and grains, ready to bring a little unexpected joy to the table.
Why I Keep Coming Back to This Dish
Because it’s honest, adaptable, and always feels like a little celebration. It pairs beautifully with a variety of sides and can be made ahead, making holiday prep less frantic. Plus, the way the caramelized edges and tender flesh come together is just satisfying enough to want it every year.
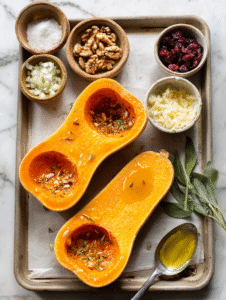
Key Ingredients & Their Secrets
- Butternut squash: Sweet, nutty flesh that caramelizes beautifully. Swap for acorn squash if you like a more intense flavor.
- Grains (quinoa, rice, or farro): Adds a chewy, hearty base. Use wild rice for a smoky note.
- Herbs (sage, thyme): Fresh herbs brighten everything up. Dried works in a pinch, just add earlier.
- Olive oil: For roasting and flavor. Use a good extra virgin for depth.
- Cheese (optional, Parmesan or feta): Gives a salty, creamy finish. Skip for vegan vibes or try nutritional yeast.
- Lemon zest or juice: Adds zing and cuts through richness. A splash brightens the overall flavor.
- Dried cranberries or nuts: Sweet, tart bursts or crunchy texture. Swap for chopped apples or toasted seeds.
Tools & Equipment You Need
- Sharp chef’s knife: To cut the squash cleanly and safely.
- Baking sheet: Roast the squash evenly in a single layer.
- Spoon: Scooping out seeds and stuffing the squash.
- Mixing bowl: Combine and prepare the stuffing ingredients.
- Oven thermometer: Ensure your oven’s temp is accurate, for perfect roasting.
Step-by-Step Roasting & Stuffing
Step 1: Preheat your oven to 200°C (390°F).
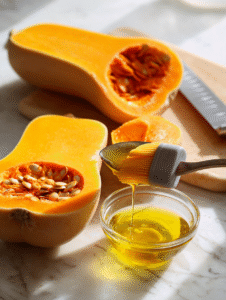
Step 2: Cut the squash in half lengthwise, scoop out the seeds, and brush the insides with olive oil.
Step 3: Place squash halves cut-side up on a baking sheet lined with parchment paper.
Step 4: Roast for about 40-45 minutes until the flesh is soft and the edges are caramelized.
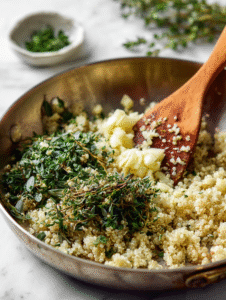
Step 5: Meanwhile, prepare the stuffing: cook your grains and sauté vegetables and herbs.
Step 6: Spoon the filling into the roasted squash, pressing gently to pack it in.
Step 7: Return to the oven and bake for another 15 minutes until heated through and slightly crispy on top.
Step 8: Let it rest for 10 minutes before serving.
Roasted Stuffed Butternut Squash
Ingredients
Equipment
Method
- Preheat your oven to 200°C (390°F). Line a baking sheet with parchment paper.

- Cut the butternut squash in half lengthwise and scoop out the seeds with a spoon. Brush the cut sides with 1 tablespoon of olive oil.
- Place the squash halves cut-side up on the prepared baking sheet. Roast for about 40-45 minutes until the flesh is tender and caramelized around the edges.
- While the squash roasts, heat a small amount of olive oil in a skillet over medium heat. Sauté the chopped onion until translucent and fragrant, about 5 minutes.
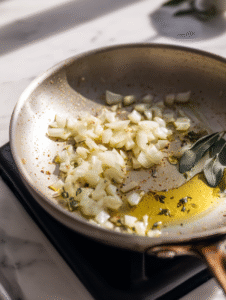
- Add the minced garlic and chopped herbs to the skillet. Cook for another minute until aromatic.
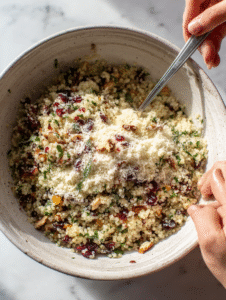
- Mix the cooked grains, sautéed vegetables, lemon zest or juice, dried cranberries or nuts, and cheese (if using) in a bowl until well combined.
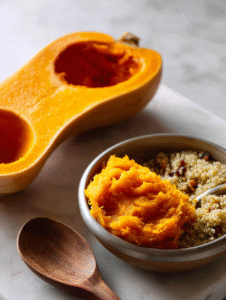
- Once the squash is tender and caramelized, carefully scoop out most of the flesh into a bowl, leaving a small border to keep the shape. Mash the flesh slightly and fold it into the grain mixture.
- Spoon the stuffing mixture back into the hollowed-out squash halves, pressing gently to pack it in.
- Return the stuffed squash to the oven and bake for an additional 15 minutes until heated through and the top is slightly crispy.
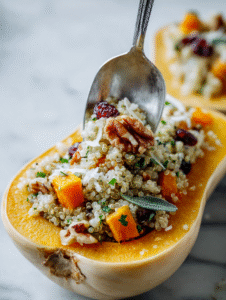
- Remove from the oven and let it rest for 10 minutes. The edges should be caramelized, and the filling hot and inviting.
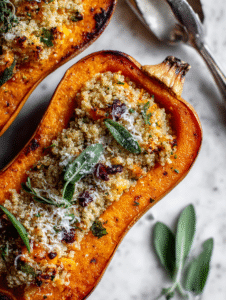
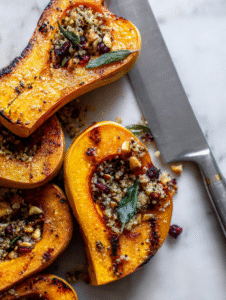
- Slice into portions and serve warm, enjoying the beautiful caramelized edges and flavorful stuffing.
Cooking Checkpoints & Tips to Nail It
- Squash should feel tender when pierced with a fork.
- Edges of the squash will be golden and slightly crispy.
- The filling should be steaming hot and slightly browned on top.
Common Mistakes & How to Fix Them
- Dull knife slipping when slicing.? Use a dull knife, squash can slip. Sharpen your knife before cutting.
- Squash steaming instead of roasting.? Overcrowd the baking sheet; squash needs space. Keep it single layer.
- Over-roasting, flesh turning mushy.? Bake too long, squash dries out. Check for tenderness early.
- Filling falling apart when serving.? Stuffing too loose, spilling out. Pack it gently but firmly.
This roasted stuffed squash is simple but has a surprising depth. The caramelized edges and tender flesh make it a standout. Feel free to tweak the filling with leftovers or seasonal greens. It’s a forgiving dish that invites personal touches and makes your holiday table more colorful and cozy.

Hi, I’m Clara Sage – and welcome to my kitchen of small revelations.
I created The Language of Aha not just as a recipe blog—but as a space to celebrate the little lightbulb moments that happen in the kitchen.