
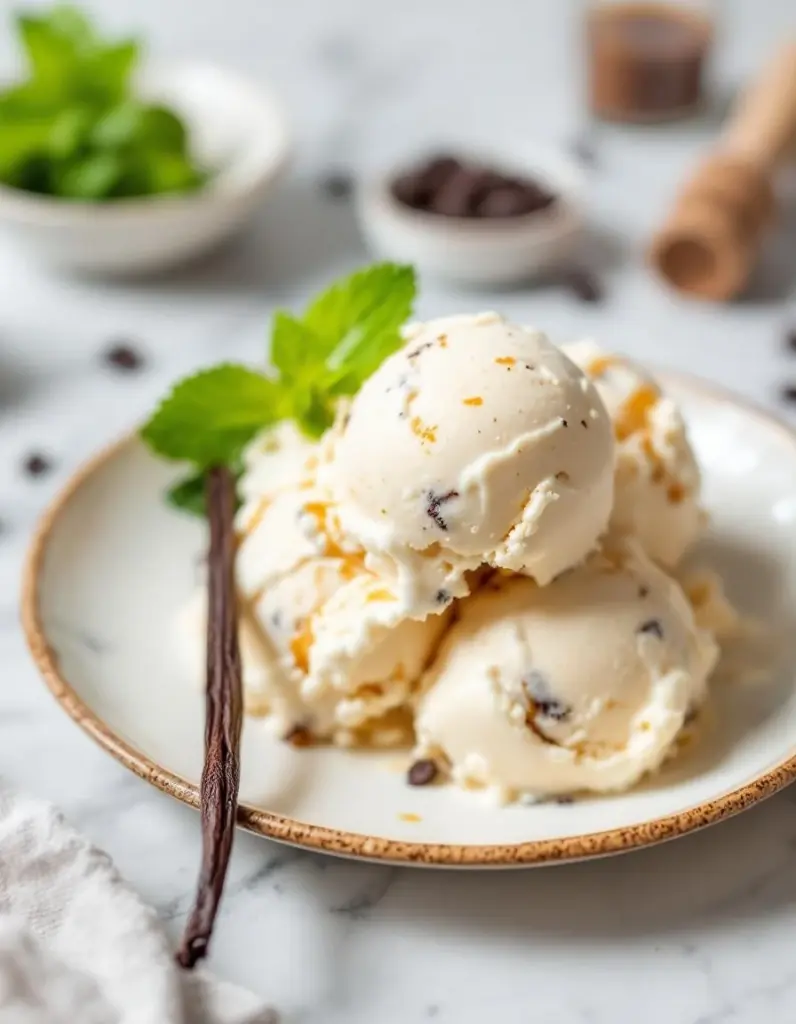
Making vanilla bean ice cream is all about the messy process of infusing milk and cream with those tiny black seeds, scraping them out with a dull knife, and watching the mixture turn cloudy and fragrant. The churn rattles and splatters as the cold base thickens, the sound of liquid turning to soft, frozen cream filling the kitchen.
You’ll feel the gritty scrape of vanilla seeds under your nails and the sticky mess of drips on the counter. Pouring the churned mixture into a container leaves a slick trail, and the wait for it to firm up in the freezer is a patience game, with every hour promising a scoop.
Listening to the gentle swirl of cream and vanilla beans as they meld, feeling the silky texture develop in the churn.
What goes into this dish
- Vanilla beans: Scraping out those tiny black seeds is a messy job, but worth it for the smoky, floral aroma. If vanilla pods are scarce, a generous teaspoon of high-quality vanilla extract will do, though it won’t have the same depth.
- Heavy cream: Creamy and rich, it’s the backbone of this ice cream. If you’re out, full-fat coconut milk makes a dairy-free alternative with a faintly sweet, coconut aroma that still churns up smoothness.
- Whole milk: Adds balance and keeps the texture light. Skim milk can be swapped in if you want less richness, but your ice cream may feel a bit less velvety—still worth a try if you need to cut calories.
- Sugar: Granulated sugar dissolves into the milk mixture, giving a subtle sweetness. Brown sugar can add a caramel note and extra depth, while honey or maple syrup bring a floral, sticky sweetness that clings to your tongue.
- Egg yolks: They thicken and add richness, giving the ice cream a silky body. If you’re allergic or avoiding eggs, cornstarch or gelatin can help thicken, but you’ll miss that custardy richness.
- Salt: Just a pinch enhances all the flavors, sharpening the vanilla’s perfume and balancing the sweetness. Sea salt flakes are perfect, but table salt works in a pinch—just don’t oversalt.
- Ice and salt (for churning): Not ingredients in the mix, but essential for freezing. Crushed ice and coarse salt in your ice bath create the low temp needed to turn liquid base into frozen cream, like a DIY ice rink.
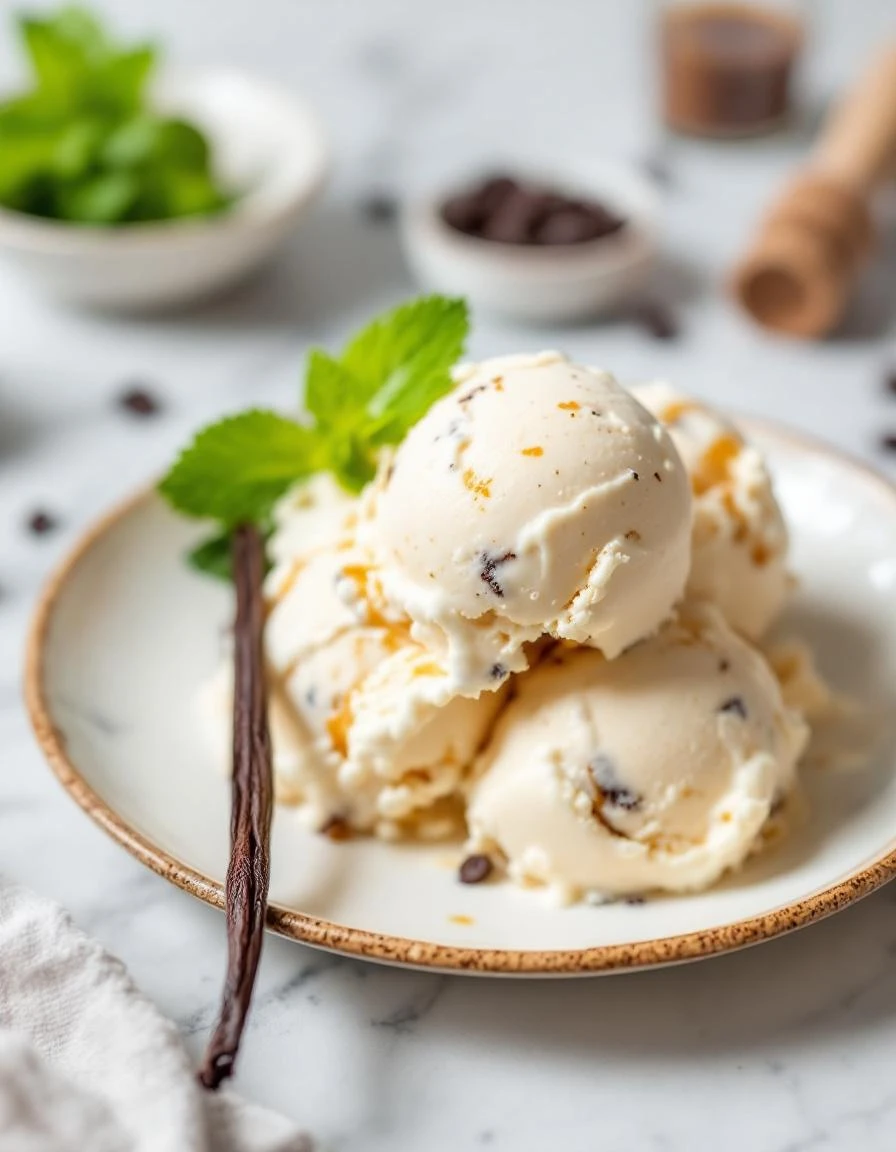
Classic Vanilla Bean Ice Cream
Ingredients
Equipment
Method
- Use a small knife to split the vanilla beans lengthwise and scrape out tiny black seeds, collecting them in a bowl.
- Pour the heavy cream and whole milk into a saucepan, then add the vanilla beans and seeds, bringing just to a simmer over medium heat. You’ll smell a fragrant aroma as the mixture warms, and tiny bubbles will form around the edges.
- In a separate bowl, whisk the egg yolks with sugar and salt until the mixture becomes smooth and slightly pale, about 2 minutes.
- Gradually pour a ladle of the hot cream mixture into the egg yolks while whisking constantly to temper the eggs, preventing curdling. This helps the eggs gently heat up.
- Pour the tempered egg mixture back into the saucepan with the remaining cream, stirring continuously. Cook over low heat until the custard thickens slightly and coats the back of a spoon, about 5–7 minutes. You’ll notice a rich aroma and a gentle bubbling.
- Remove the custard from heat and strain it through a fine mesh strainer into a clean bowl, pressing gently to extract all the vanilla seeds and smooth out any cooked egg bits. Let it cool to room temperature.
- Cover the bowl and refrigerate the custard for at least 4 hours or overnight until thoroughly chilled. The mixture will look silky and fragrant, with specks of vanilla visible.
- Once chilled, pour the custard into your ice cream maker and churn according to the manufacturer’s instructions. You’ll hear the churn start to rattle and splatter as the mixture thickens into soft, creamy ice cream.
- Transfer the soft ice cream to a freezer-safe container, smoothing the top with a spatula. Cover and freeze for at least 4 hours until firm and scoop-ready.
- Once frozen, remove the ice cream from the freezer and let it sit at room temperature for 5 minutes to soften slightly. Scoop into bowls and enjoy the rich, fragrant vanilla flavor with specks of vanilla seeds visible throughout.
Common mistakes and how to fix them
- FORGOT to chill the mixture overnight? Cool it at least 4 hours or overnight for better texture.
- DUMPED in hot milk? Always let the custard cool completely before churning to prevent ice crystals.
- OVER-TORCHED the sugar? Keep an eye on caramelizing sugar to avoid bitterness and burning smells.
- SKIPPED the vanilla seeds? Use vanilla extract if beans aren’t available, but seeds add that smoky aroma.
Make-Ahead and Storage Tips
- Prepare the custard base a day in advance. Chill it thoroughly in the fridge for at least 4 hours to develop flavor and ensure smooth churning.
- Freeze your ice cream container ahead of time. A solid, cold base helps the mixture freeze evenly and prevents ice crystals from forming.
- Flavor deepens overnight, so don’t skip the resting period. Vanilla notes become more pronounced after sitting, making the final scoop richer.
- Ice cream keeps well for up to 2 weeks in the freezer. Cover tightly to prevent ice absorption and flavor loss.
- Reheating isn’t necessary; just let it sit at room temperature for 5 minutes before scooping. The texture should be creamy and scoop-ready after a brief thaw.
FAQs
1. Can I use vanilla extract instead of beans?
Yes, using vanilla extract gives a different, less smoky aroma but still adds sweetness. The seeds provide a rich, floral scent, so if you skip them, expect a milder vanilla flavor.
2. How long should I chill the mixture?
Chilling the custard overnight helps develop flavor and prevents ice crystals. If you’re in a rush, at least 4 hours in the fridge works, but longer is better.
3. Why is my ice cream grainy?
Ice crystals form when the mixture isn’t cold enough or over-churned. Keep your ingredients cold and churn just until it’s thick and creamy to avoid a grainy texture.
4. Can I make this dairy-free?
Yes, coconut milk makes a rich, dairy-free version with a faint coconut aroma. It churns up smoothly but has a different flavor profile that’s slightly sweeter and nuttier.
5. How long can I keep homemade vanilla ice cream?
Store ice cream tightly covered in the freezer for up to 2 weeks. Flavors deepen overnight, but it may get icy if left too long. Let it sit for a few minutes at room temp before scooping.

Hi, I’m Clara Sage – and welcome to my kitchen of small revelations.
I created The Language of Aha not just as a recipe blog—but as a space to celebrate the little lightbulb moments that happen in the kitchen.