
Why I Love This Recipe (And You Will Too)
- Because it’s quietly forgiving—leftovers taste even better the next day, especially after sitting in the fridge for a few hours, absorbing all those fruity juices.
- It’s honest. No fancy tricks, just good quality fruit, buttery crust, and a splash of honey. It feels like something you could whip up on a whim during those chaotic mornings.
- There’s something oddly soothing about watching the colors deepen and the flavors meld after a night in the fridge. It’s like the tart has a secret life I don’t know about until I taste it again.
- This tart hits this weird sweet spot between elegance and comfort. It’s not overly complicated but somehow makes you feel like you’re a pro baker (even if you’re just winging it).
I made this on a whim, one afternoon when I had a handful of berries, a few peaches, and no clue what to do with them all. The best part? It’s super adaptable. No one seems to care if the crust isn’t perfect. Sometimes that’s what makes it special.
Right now, everyone’s talking about quick, fresh desserts. It’s hot and everyone’s craving something that doesn’t weigh them down. This fruit tart? It’s barely a recipe, but it makes a quiet statement—simple doesn’t mean boring. And really, isn’t that what we need?
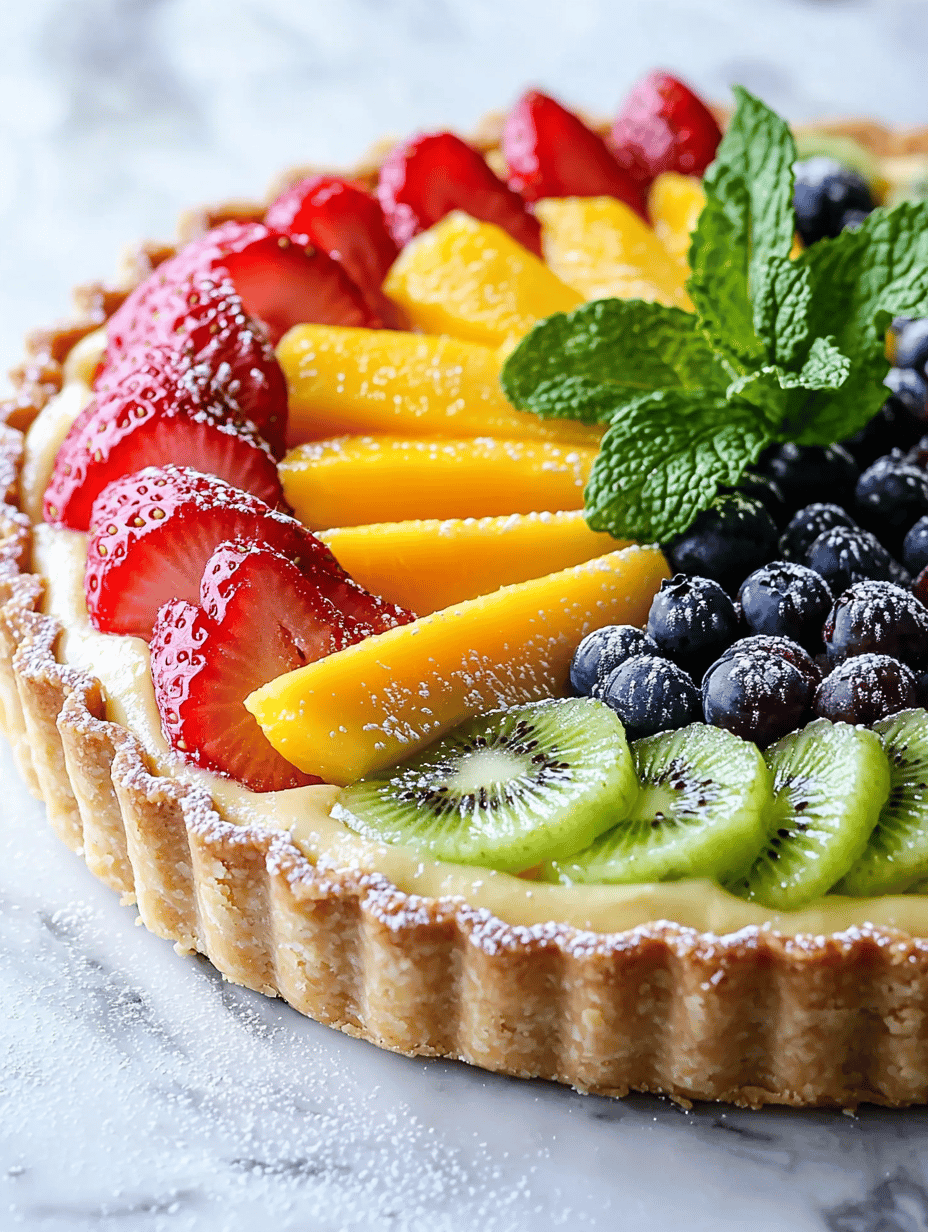
Mixed Fruit Tart
Ingredients
Equipment
Method
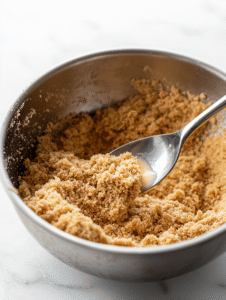
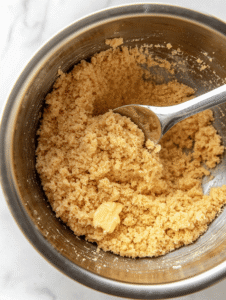
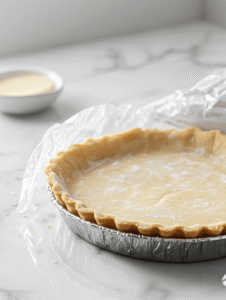
- Combine the graham cracker crumbs and melted butter in a mixing bowl until the mixture resembles damp sand.
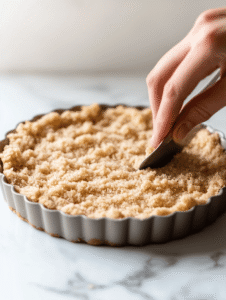
- Press this mixture evenly into the bottom of a 9-inch tart pan to form a firm, even crust. Use the back of a spoon to smooth it out and create a slight edge around the sides.
- Refrigerate the crust for at least 15 minutes to help it set and chill, which makes it easier to work with later.
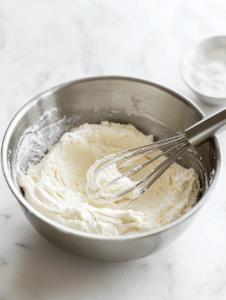
- In a separate bowl, whisk together the softened cream cheese, powdered sugar, and vanilla extract until smooth and creamy; this will be your filling.
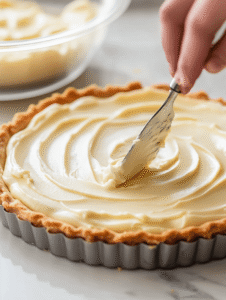
- Spread the cream cheese mixture evenly over the chilled crust, smoothing the top with a spatula for a neat finish.
- Arrange your prepared fresh fruits in an appealing pattern on top of the filling, covering the entire surface for a colorful look.
- Warm the apricot jam or honey slightly, then brush it over the fruits to give them a shiny, glazed appearance and help preserve their freshness.

- Place the tart back in the refrigerator for at least 30 minutes to let the flavors meld and the glaze set.

- Once the tart is well chilled, slice it into pieces, revealing the colorful fruit and creamy filling inside, perfect for serving.

- Enjoy this fresh, vibrant fruit tart as a light, satisfying dessert or brunch treat.

Reflecting on the Simplicity
Honestly, I think I got more attached to the leftovers than I did to the initial cut. Maybe it’s just that quiet moment of anticipation, knowing I’ll get to revisit it the next day and find new flavors dancing around. That’s rare in this fast-paced world.
Plus, there’s the thrill of using what I’ve got—no fancy ingredients needed, just ripe fruit, a bit of pastry, and a sprinkle of love (or laziness, depending on the day). If it turns out ugly, well, that’s just character, right?

Hi, I’m Clara Sage – and welcome to my kitchen of small revelations.
I created The Language of Aha not just as a recipe blog—but as a space to celebrate the little lightbulb moments that happen in the kitchen.