
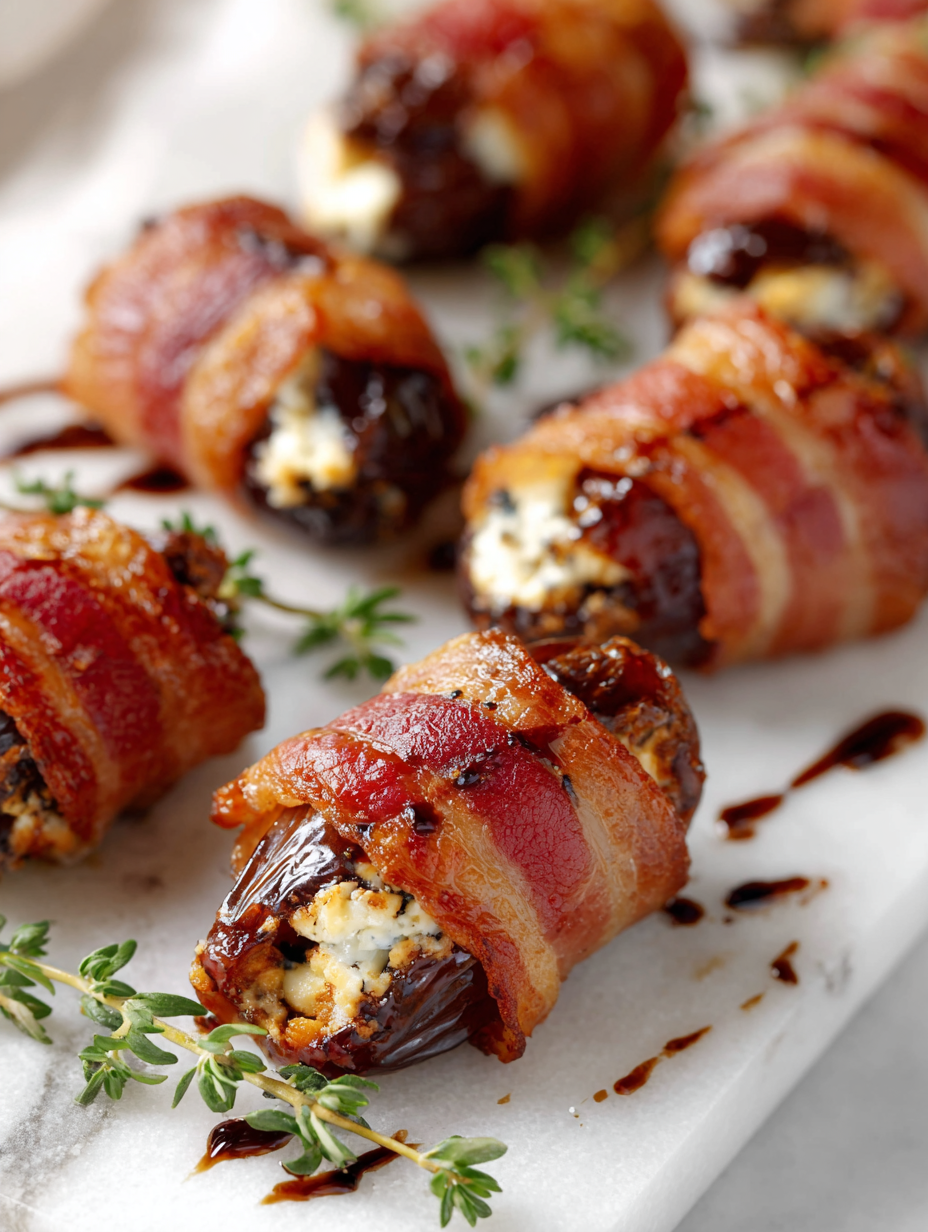
Wrapping dates in bacon feels like a tiny rebellion—sweet and savory, a little decadent, a little naughty. I’ve always loved how this combo plays with textures and flavors, turning a simple ingredient into something memorable. It’s a recipe that’s easy to throw together but feels fancy enough for guests.
Why I keep coming back to this recipe
It’s straightforward but always feels special. The contrast of warm bacon and cool, sweet dates hits a unique note. Plus, I love how adaptable it is—add a splash of balsamic reduction or sprinkle herbs for a fresh twist. It’s one of those recipes that makes me feel like a home cook with a bit of flair.
Breaking down the key ingredients
- Dates: Sweet, sticky, and soft—think caramel in fruit form; opt medjool for juiciness.
- Bacon: Smoky and salty; choose thin slices for crispness or thicker for chew.
- Cheese: Creamy and melty—goat, blue, or even cream cheese if you want milder.
- Optional fillings: Add a bit of hot sauce or chopped nuts inside for extra flavor.
- Toothpicks: Hold everything together; make sure they’re sturdy and avoid plastic ones.
Tools and equipment you’ll need
- Baking sheet: To hold the bacon-wrapped dates and catch drippings.
- Parchment paper: Prevent sticking and make cleanup easier.
- Sharp knife: To pit the dates and make small cuts.
- Toothpicks: Securing the bacon around the dates.
- Oven thermometer (optional): To ensure accurate baking temperature.
Step-by-step guide to bacon-wrapped dates
Step 1: Preheat your oven to 200°C (390°F).
Step 2: Pit the dates, making a small slit along the side if needed.
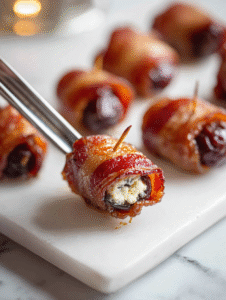
Step 3: Stuff each date with a small piece of cheese—goat or blue for extra richness.
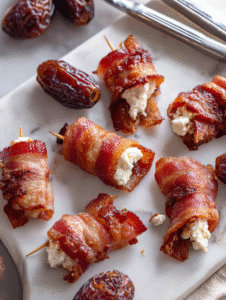
Step 4: Wrap each stuffed date with a slice of bacon, securing with a toothpick.
Step 5: Arrange the bacon-wrapped dates on a baking sheet lined with parchment paper.
Step 6: Bake for 15-20 minutes, until the bacon is crisp and golden.
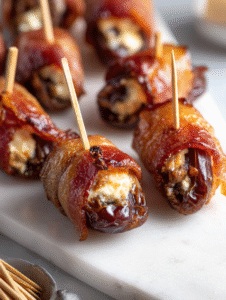
Step 7: Remove from oven, let cool slightly, and serve warm or at room temperature.
Bacon-Wrapped Dates with Cheese
Ingredients
Equipment
Method
- Preheat your oven to 200°C (390°F) and line a baking sheet with parchment paper.
- Using a sharp knife, make a small slit along the side of each date to create an opening for stuffing.
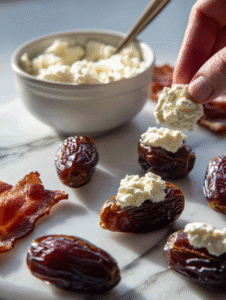
- Spoon a small amount of cheese into each date, pressing gently to fill the cavity and making it feel slightly rounded on top.
- Cut each bacon slice in half crosswise to create smaller strips that will wrap around the dates nicely.

- Wrap each stuffed date with a bacon strip, ensuring the cheese is covered and the bacon overlaps slightly.
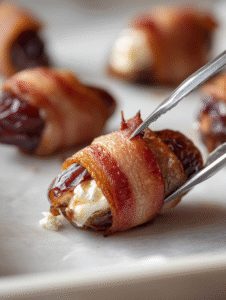
- Secure each bacon-wrapped date with a toothpick to hold everything in place.
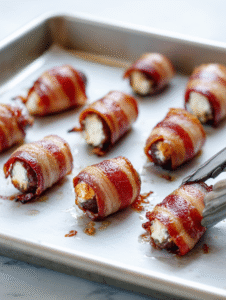
- Arrange the bacon-wrapped dates on the prepared baking sheet, spacing them evenly.
- Bake in the oven for 15-20 minutes, or until the bacon is crispy and golden brown, and the cheese is slightly melted.
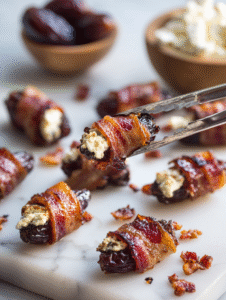
- Remove the baking sheet from the oven and let the dates cool slightly; the cheese should be gooey and the bacon crisp.
- Carefully remove the toothpicks and transfer the bacon-wrapped dates to a serving platter.
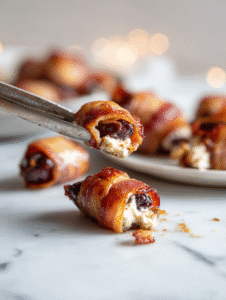
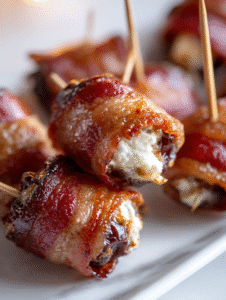
- Serve warm or at room temperature, enjoying the contrast of crispy bacon, sweet dates, and melty cheese.
Cooking checkpoints to ensure perfection
- Bacon should be crisp and well-rendered, not greasy.
- Dates should be soft but not falling apart.
- Cheese inside should be oozy and melty, not hardened.
- Baking time might vary slightly depending on your oven and bacon thickness.
Common mistakes and how to fix them
- Squeezing or tearing the date when pitting.? Use a sharp knife to pit dates—less squishing and more control.
- Bacon not wrapping tightly or falling apart.? Pre-cook the bacon for 2-3 minutes if it’s too thick—easier to wrap.
- Bacon getting burnt or not crisp enough.? Bake at a consistent 200°C (390°F)—avoid under or overcooking.
- Serving immediately, causing cheese to spill.? Let the baked dates rest for 5 minutes—avoids burns and helps set the filling.
These bites are messy in the best way—sweet, salty, smoky, and cheesy all at once. They’re perfect for a quick snack or a fancy appetizer that’s guaranteed to spark conversation. Feel free to experiment with different cheeses or add a dash of hot sauce inside for a fiery kick. Once you’ve got the hang of it, these will become a go-to for parties or just a treat on a lazy weekend.

Hi, I’m Clara Sage – and welcome to my kitchen of small revelations.
I created The Language of Aha not just as a recipe blog—but as a space to celebrate the little lightbulb moments that happen in the kitchen.