
This recipe is a love letter to the layered textures and rich flavors I grew up craving. It’s not just about the sweet taste but the process—layering, melting, and watching it set. Those moments of patience make the reward even sweeter. Sometimes, I think, the best memories come from simple ingredients and a bit of quiet time in the kitchen.
Why I keep returning to this fudge
Making this fudge is a peaceful ritual, a moment to pause and create something comforting. It’s versatile—personalize with flavors or textures, making it endlessly adaptable. The process reminds me that patience yields the best results, a lesson I need often. Plus, sharing it turns any day into a celebration, no matter how ordinary.
Inside the magic ingredients of fantasy fudge
- Sweetened condensed milk: Sweetens and creates a creamy base. Swap with evaporated milk plus sugar if needed.
- Chocolate (bittersweet or semisweet): The core flavor, oozy and rich. Use dark chocolate for depth, milk for sweetness.
- Butter: Adds richness and smoothness, helps set the fudge. Margarine can work in a pinch.
- Vanilla extract: Brings warmth and depth. Almond extract is a bold alternative.
- Sea salt: Enhances sweetness and balances flavors, especially with dark chocolate.
- Optional add-ins: Nuts or dried fruits add texture and surprise. Toast nuts for extra flavor.
Tools of the trade for layered fudge mastery
- Heavy-bottomed saucepan: Prevents hot spots and scorching during melting.
- Silicone spatula: Stirs smoothly and scrapes the pan clean.
- Parchment paper: Prevents sticking and makes removal easy.
- Sharp knife: Cuts clean, precise squares.
Crafting the Perfect Layers of Fantasy Fudge
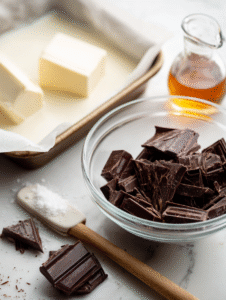
Step 1: Gather your ingredients and tools before you start, so nothing interrupts your flow.
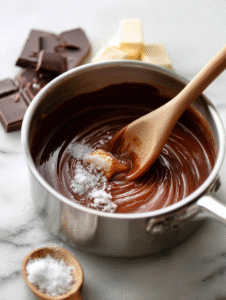
Step 2: In a heavy-bottomed saucepan, melt butter and stir in the sweetened condensed milk over medium heat.
Step 3: Bring the mixture to a gentle boil, stirring constantly. Watch for bubbling and a faint caramel aroma, around 5 minutes.
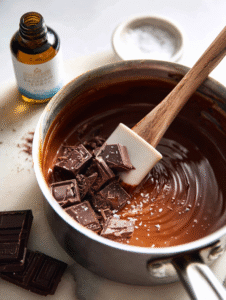
Step 4: Remove from heat and quickly stir in chopped chocolate, vanilla extract, and a pinch of sea salt until smooth.
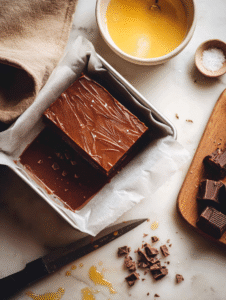
Step 5: Pour into a prepared pan lined with parchment paper. Smooth the top with a spatula.
Step 6: Let the fudge set at room temperature for at least 4 hours, or overnight, for best texture.
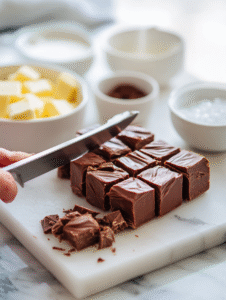
Step 7: Once firm, cut into squares with a sharp knife, wiping it clean between cuts.
Fantasy Fudge
Ingredients
Equipment
Method
- Gather all your ingredients and line a small baking pan with parchment paper for easy removal.
- In a heavy-bottomed saucepan, melt the butter over medium heat until it starts to shimmer, filling your kitchen with a rich, buttery aroma.
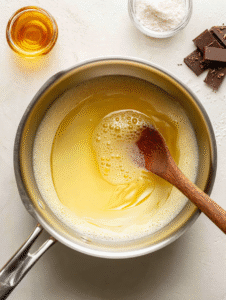
- Add the sweetened condensed milk to the melted butter, stirring constantly with a silicone spatula until fully combined and smooth, about 2 minutes.
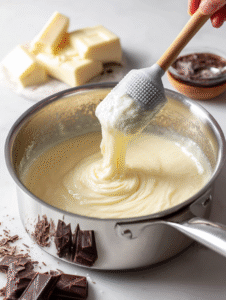
- Bring the mixture to a gentle boil, stirring steadily, and cook for about 5 minutes until it thickens slightly and becomes fragrant, with a faint caramel scent.
- Remove from heat and immediately stir in the chopped chocolate, vanilla extract, and a pinch of sea salt, mixing until the chocolate is completely melted and the mixture is glossy and smooth.
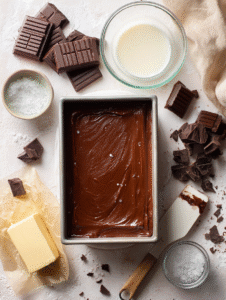
- Pour the luscious chocolate mixture into your prepared pan, spreading it evenly with a spatula for a smooth, level surface.
- Let the fudge cool at room temperature for at least 4 hours or overnight, until it’s firm and set to the touch.

- Once fully cooled, lift the fudge out of the pan using the parchment paper and place on a cutting board.
- Use a sharp knife to cut the fudge into small, even squares, wiping the blade clean between cuts for neat edges.
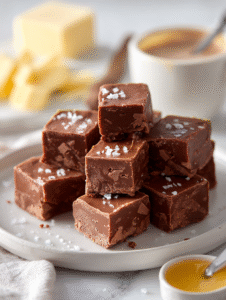
- Arrange the fudge squares on a plate or storage container, ready to enjoy or share with friends and family.
Notes
Cooking checkpoints and tips to keep your fudge flawless
- Ensure the mixture reaches a gentle boil without boiling over.
- The fudge should be shiny and slightly thickened before pouring.
- When set, the edges will be firm but the center still slightly soft.
- Use a sharp knife to cut for clean edges, wiping it between slices.
Avoid these common fudge pitfalls
- Boiling the mixture too aggressively.? Use a candy thermometer when boiling to prevent overcooking.
- Not letting it set long enough.? Drop the fudge onto a cool surface to test firmness.
- Adding chocolate off-heat, causing clumps.? Quickly stir in ingredients to avoid grainy texture.
- Forgetting to line the pan with parchment.? Wipe the knife between cuts for sharp edges.
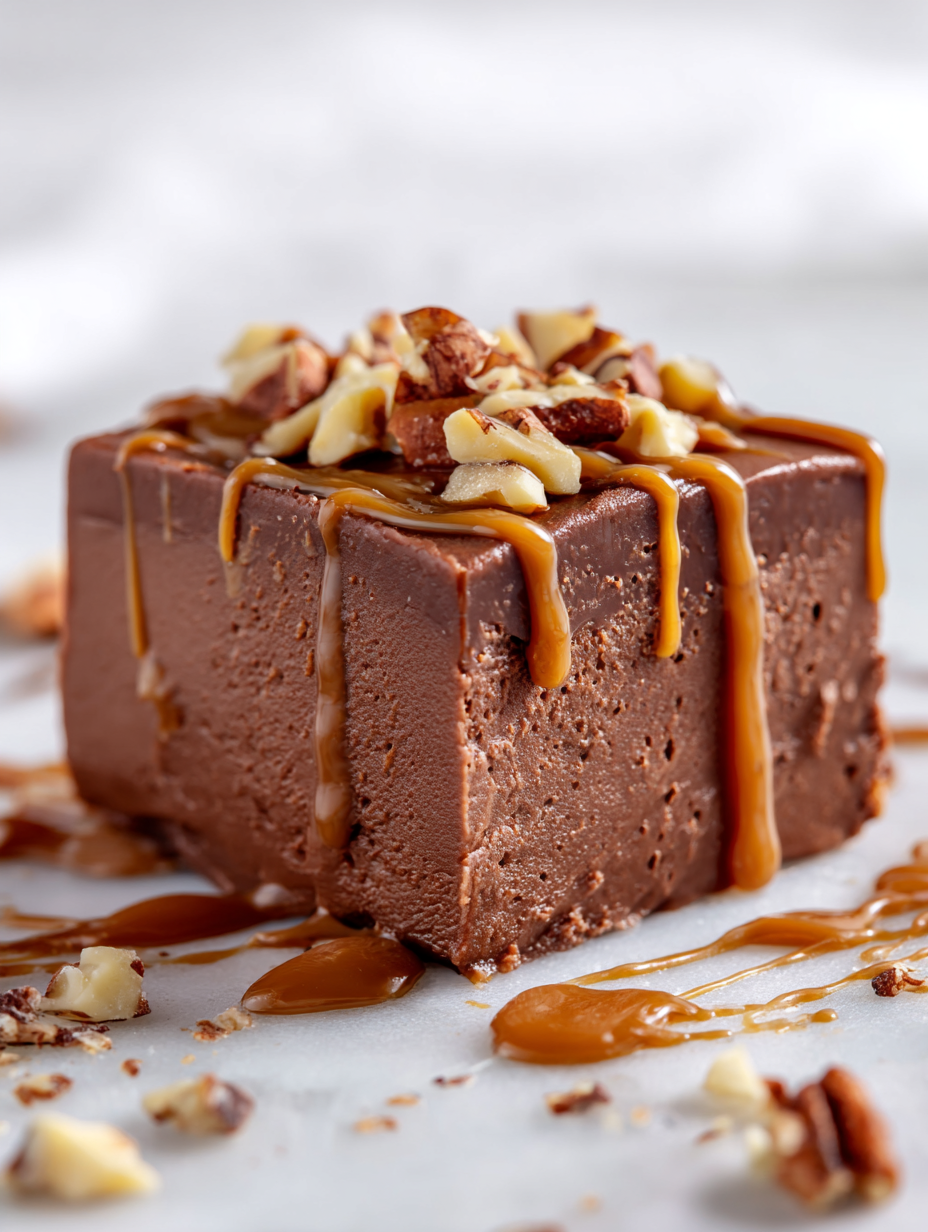
This fudge isn’t just a treat; it’s a little ritual of patience and indulgence. Every bite is a nostalgic escape, layered with flavors that remind you of childhood or secret afternoons in the kitchen. Feel free to add your twists—nuts, dried fruits, or a swirl of caramel. Whatever you choose, it’s a simple way to create something memorable, even on a hectic day.

Hi, I’m Clara Sage – and welcome to my kitchen of small revelations.
I created The Language of Aha not just as a recipe blog—but as a space to celebrate the little lightbulb moments that happen in the kitchen.